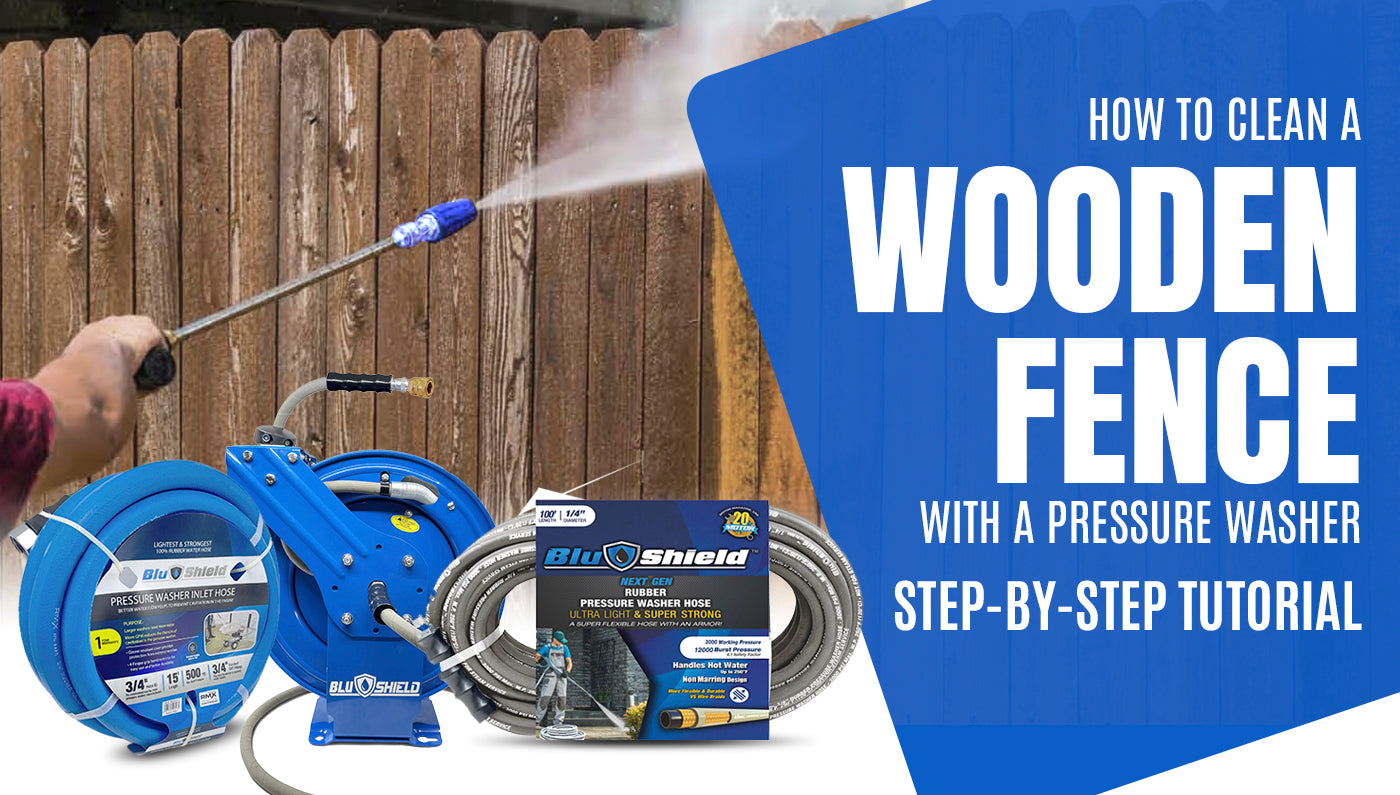
How To Clean A Wooden Fence With A Pressure Washer - Step-by-step Tutorial
A wooden fence can be a great addition to any home. They add charm to your space and also help keep children and pets safe in your yard. However, wood is a sucker for accumulating dust, and over time your wooden fence may lose its appeal and become dirty and greasy.
This is why it's necessary to clean your fence from time to time. And a great way to clean a wooden fence is through pressure washing.
However, if you are new to pressure washing, we have you covered. Read on as we discuss a step-by-step guide to cleaning a wooden fence and ensuring it looks as good as new.
Easy steps to clean a wooden fence through pressure washing
Before you clean a wooden fence, you need to keep in mind that one part of the fence may face the street, and since pressure washing emits a jet of water at high speed, it can cause damage to nearby cars or even injure animals or humans near your fence.
Thus, before starting your fence cleaning, ensure the area is clear of any hazards. Moreover, you can also place a sign on the road that warns passers-by of the pressure cleaning work in progress.
With this being said, let’s dive into the steps you need to follow to pressure wash your wooden fence.
Step 1: Gather the required tools and equipment
Before starting to pressure wash your fence, gather all the tools and equipment you'll need. This includes a pressure washer hose & hose reel with an appropriate spray gun for wood surfaces, safety gear such as gloves and safety glasses, a scrub brush, and a mild detergent or cleaning solution. Moreover, make sure to inspect the fence for any loose or damaged boards, as pressure washing those areas may increase the damage further.
Step 2: Prepare the Area
Before you begin the process of pressure washing, it's important to prepare the area. Begin by removing any obstacles or items near the fence that the high-pressure stream of water might damage. Moreover, cover nearby plants or delicate surfaces with plastic sheets to protect them from the cleaning solution and water spray.
Step 3: Test the Pressure Washer
Before you start using the pressure washer on the fence itself, it is recommended to test the pressure washer on a small piece of wood or a small part of the fence. This is to make sure the water jet doesn't damage the fence. Adjust the pressure setting on the pressure washer accordingly, as too much pressure can damage the wood. Once you find the right pressure, you can move on to the next step.
Step 4: Apply Cleaning Solution
Mix a mild detergent or a specialized wood fence cleaner with water, and follow the manufacturer's instructions. Apply the cleaning solution to the fence using a sprayer or a pump-up garden sprayer. Allow the solution to sit on the wood surface for a few minutes to break down dirt, mold, and other contaminants that may be difficult to remove with just water.
Step 5: Scrub the Surface
If you are dealing with stubborn stains, then you might want to scrub the fence. Use a brush that has a soft bristle and gently scrub the fence with it after you have applied the cleaning solution. This will help dislodge dirt and grime from the wood surface. However, be cautious not to scrub too hard, as excessive force may cause damage to the wood fibers.
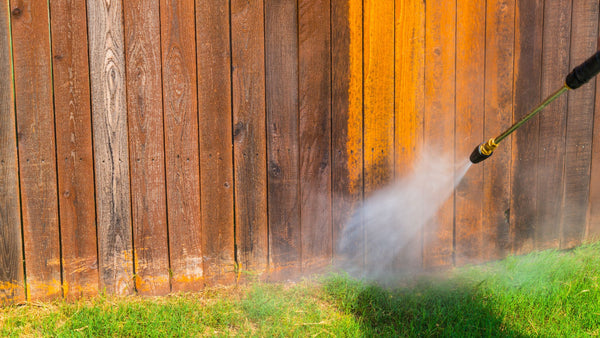
Step 6: Pressure Wash the Fence
Once the cleaning solution has been left on the fence for a considerable time, it’s time to start pressure washing the fence. Hold the pressure washer nozzle at a 45-degree angle and maintain a consistent distance from the wooden surface. Move the wand evenly along the length of the fence boards and try to overlap each part slightly. Work in manageable sections to ensure thorough cleaning.
Step 7: Rinse Thoroughly
Once you are done with your fence cleaning, it’s time to rinse. Try to use clean water and make sure you remove all traces of the cleaning solution. Pay extra attention to places where the cleaning solution may have accumulated, like nooks, corners, and joints.
Step 8: Let the fence dry
Allow the fence to completely dry, as wet wood can start to decay soon. Depending on the weather conditions in your area, this can take a day or two. Once the fence is dry, you can assess the results of your pressure cleaning.
Final thoughts
Regular maintenance of your wooden fence is important if you want to maintain the beauty and longevity of your fence. Thus, the next time you go about cleaning your fence with a pressure washer, make sure you follow the tips mentioned above. This will help you remove dust, mold and grime from your wooden fence and keep it fresh and clean for years.
Looking for quality pressure washer hoses and pressure washing equipment? Your search ends with us at TheBlueHose. Get top-notch pressure washer hoses and other quality pressure washing equipment, that are built to last, and give you a bang for your buck.