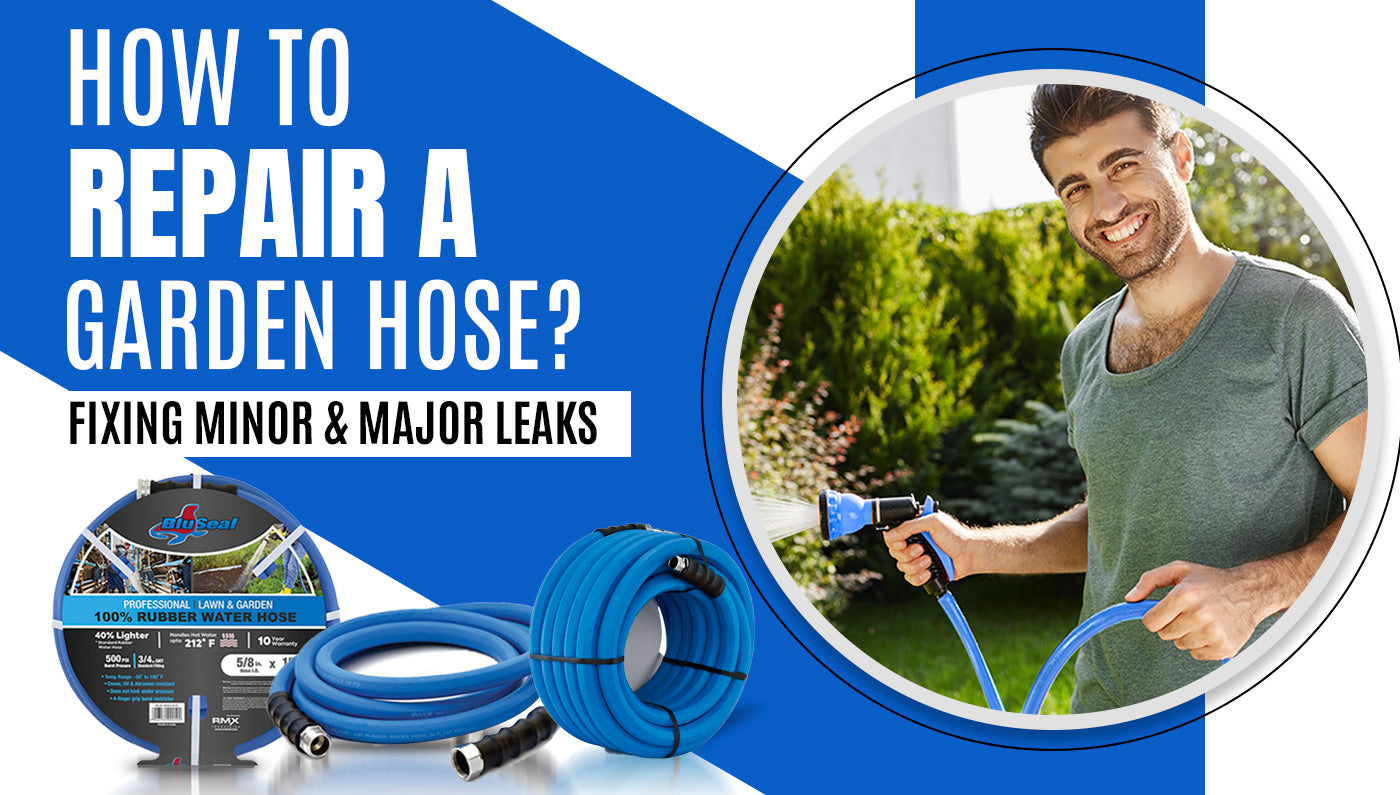
How to repair a garden hose? Fixing Minor & Major Leaks
Life may not be perfect, but your garden hose can be. Discovering leaks in your garden hose can be frustrating and is one common issue most homeowners face. This is because garden hoses are prone to wear and tear, with leaks being a common issue.
Thus, whether you are dealing with a minor drip or a major gush, knowing how to fix and repair a garden hose can save you valuable time and money. This is why, in this blog, we will discuss a complete guide on garden hose repair.
So, keep reading to find out more.
Understanding garden hose leaks
Before we start discussing how to repair a garden hose, let us first understand some of the common causes of leaks.
Some of the common causes of leaks in garden hoses are discussed below.
1. Age of hoses/Daily wear and tear
Garden hoses tend to naturally age and wear out over time. Moreover, exposure to certain elements like UV rays, and constant bending and twisting can lead to the deterioration of the hose material, making it susceptible to leaks.
2. Kinks and bends
Excessive kinking and bending, especially near the connectors, can cause stress on the hose material. This stress may lead to cracks, splits, or weakened areas, resulting in leaks.
3. Freezing temperatures
In places that have cold or freezing temperatures, the water inside garden hoses freezes and expands, which can cause the hose to crack or rupture.
4. Poor storage conditions
Leaving a garden hose exposed to the elements, lying on the ground, or coiled tightly for extended periods can increase wear and tear.
5. Chemical damage
Excessive use of harsh chemicals, pesticides, or fertilizers can weaken the hose material and cause leaks.
These are some of the common reasons why garden hoses tend to leak or develop cracks. And garden hose owners need to understand the causes.
Tools and Materials Needed To Repair A Garden Hose
Below are some of the tools and materials you need to gather before you repair a garden hose. Make sure you gather them in advance to ensure your repairing task becomes easier.
1. Utility knife
A sharp utility knife is crucial for cleanly cutting damaged sections of the hose during repairs. Ensure the blade is sharp to make precise cuts.
2. Hose mender
For repairing minor leaks or joining two cut hose ends, a hose mender is an essential component. It typically consists of a coupling that fits into the hose ends, providing a secure connection.
3. Hose repair tape
This is a self-fusing tape that is excellent for quickly and temporarily fixing minor leaks. It creates a waterproof seal and is resistant to various weather conditions.
4. Hose clamps
Hose clamps are used to secure hose menders, sealant patches, or other repair materials to ensure a tight and secure fit. They are versatile and come in various sizes.
5. Waterproof sealant
A waterproof sealant, such as silicone-based or rubberized sealant, is essential for patching up cracks, holes, or larger leaks. It ensures a durable and watertight seal. Thus, if you are wondering how to repair a garden hose end, a waterproof sealant may be just what you need.
6. Couplings
When dealing with major leaks or extensive damage, having spare couplings can be beneficial. Couplings allow you to cut out damaged sections and replace them with a new piece of hose.
7. Hose repair kit
You can also buy a comprehensive hose repair kit in the market. The kit includes a coupling, hose clamps, and a coupling adapter. Kits are convenient and can be an all-in-one solution for major hose repairs.
8. Gloves, bucket and cloth
Gloves will help you to protect your hands from water and dirt, a bucket will help to catch and store excess water that can spill while repairing the hose, and a piece of cloth will help you wipe the hose surface before you apply any sealants.
Step-by-Step Garden Hose Repair Process
Below is a step-by-step repairing process for garden hose repair.
1. Assessing the damage
These tips will help you locate the leak and determine the extent of damage.
● Visual Inspection
Look for visible cracks, holes, or splits in the hose.
● Run Water Through the Hose
Turn on the water to identify leaks by observing water seepage.
● Flex and Bend the Hose
Check for leaks while gently bending or flexing the hose.
● Feel for Air
For major leaks, listen and feel for escaping air when the hose is pressurized.
2. Repairing minor leaks
These are some techniques for patching small holes or cracks.
● Hose Mender
Cut out the damaged section and insert a hose mender, securing it with hose clamps.
● Hose Repair Tape
Wrap the tape tightly around the damaged area, ensuring complete coverage.
● Hose Clamps and Sealant
Apply sealant to the damaged area and secure it with hose clamps.
● DIY Solutions
Use common household items like rubber patches or epoxy putty for temporary fixes.
3. Addressing major leaks
These strategies are for repairing significant damage or ruptures in your garden hose.
● Cut and Replace
Cut out the damaged section and replace it with a hose mender or a new hose piece.
● Hose Repair Kit
Follow the kit instructions for a professional and lasting repair.
● Professional Help
Consider professional repair services for extensive damage or uncertainty about DIY repairs.
4. Reassembly and testing
These instructions are for reattaching repaired sections.
● Secure Hose Mender
Tighten hose clamps to secure the mender or coupling.
● Apply Sealant (if used)
If sealant was applied, ensure it has dried or cured before testing.
● Reattach to Water Source
Reconnect the hose to the water source.
● Test for Leaks
Turn on the water and check for any new leaks. If none appears, the repair was successful.
● Store Properly
Coil the hose neatly or use a hose reel for proper storage, preventing future damage.
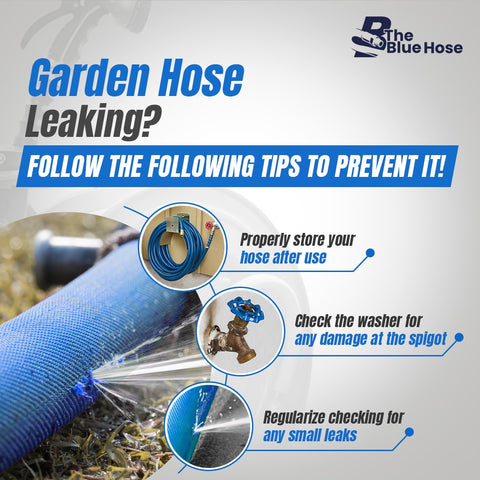
Essential Maintenance Tips to Prevent Garden Hose Leaks
These tips outlined below will help you maintain your garden hose in optimal condition and will reduce the chances of it developing leaks and cracks.
1. Don’t leave water behind in your hose
Leaving water inside your hose can lead to the growth of bacteria, which can degrade the inner material of your hose. Moreover, if you stay in a place that witnesses minus temperatures, the water left behind in your hose can freeze, expand, and rupture your hose.
2. Avoid leaving your hose under the sun
In summer, leaving your hose under the sun can cause degradation of the rubber due to the sun’s UV rays. Moreover, water left behind in the tube can also heat up and damage the inner lining of your hose.
3. Visual inspection
Start by visually inspecting the entire length of the hose. Look for visible signs of damage, such as holes, cracks, or splits. Pay attention to areas near connectors and points of frequent bending.
4. Proper storage
Store garden hoses on a hose reel or by hanging them to avoid kinking and bending. This prevents stress on the material, extending the hose's lifespan.
5. Regular inspections
Conduct routine visual inspections of your hose, checking for signs of wear or damage. Addressing minor issues promptly prevents them from escalating.
Final thoughts
A leaking garden hose doesn't have to be a cause for concern, as there are various DIY and professional solutions for both minor and major leaks. By promptly addressing these issues, you can extend the life of your garden hose and keep your garden tended well.
Moreover, regular inspections, quick repairs, and the right tools will ensure your garden hose remains functional when you need to maintain the beauty of your outdoor space.
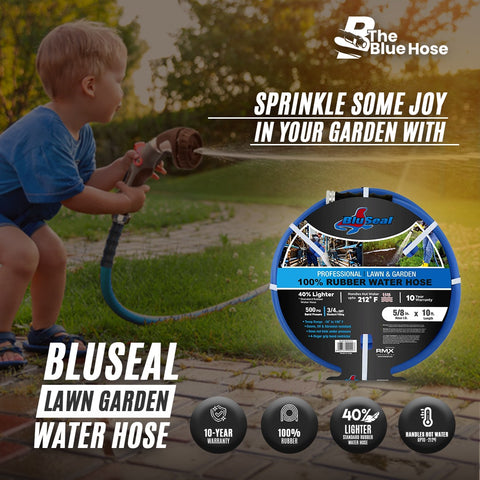
Get the best garden hoses only at https://thebluehose.com/ and say goodbye to repairs! Long-lasting and durable, these garden hoses offer you the best value for money! Shop here.